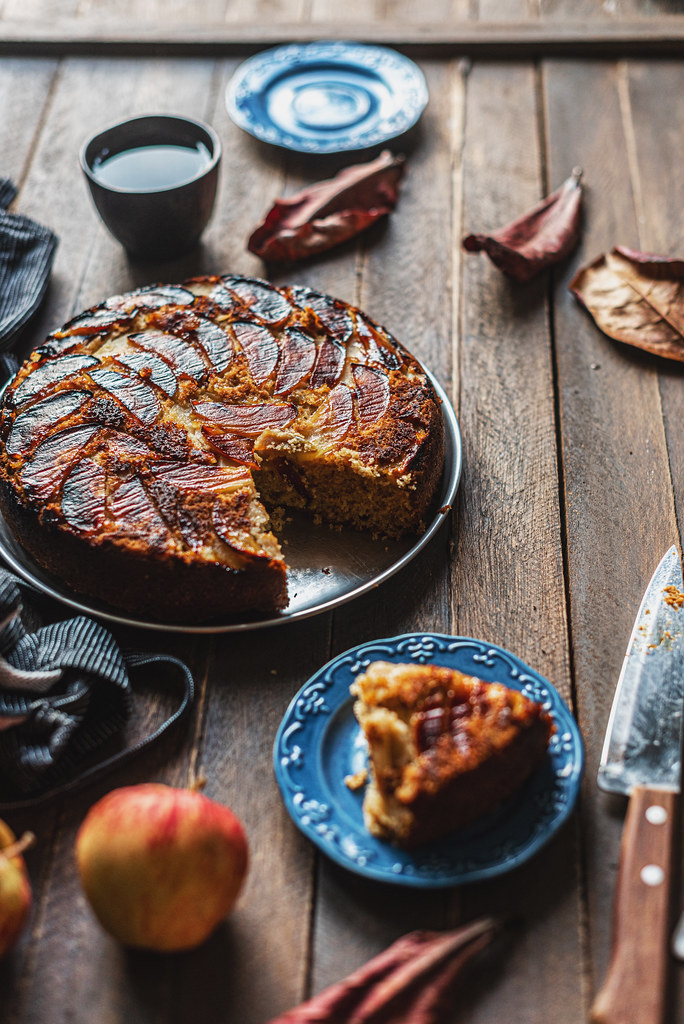
Fall is here and apples are in season available locally. So there is nothing more worthwhile for using apples than an apple cake. The beauty of these cake is that I didn’t even have to ice them and they are so photogenic. They came out superb and one of the most moist and soft cake I have baked. The crust was still crispy and I could feel the caramel bits from the golden syrup.
Recipe
3 tart apples like Granny’s smith
170 gms melted butter
2 large eggs at room temperature
170 gms granulated sugar
170 gms all purpose flour
1 tsp baking powder
1/2 tsp baking soda
1/2 tsp salt
3/4 cup whole milk
1 tsp powdered cinnamon
2 tbsp golden syrup or store bought or homemade caramel
Method:
Preheat oven to 180 degrees C. Use a 9 inch round or square tin. You can also use a 10″ cast iron skillet.
Line the tray you are using a circular parchment paper and grease the paper before sticking to tray and on the top.
Apple slices prep: Peel the apples and core them. Slice the apples in a rough slice, not too thin. Line your tray with the apple slices. Pour over the golden syrup/caramel over the apple slices evenly.
For dry mix: Shift together the flour, baking powder, baking soda, salt and cinnamon. Keep it aside.
For the cake mix: Mix the eggs and sugar together till sugar is dissolved and the batter light and fluffy. It will be good to use a stand mixer or use a whisk.
Add the melted butter and mix to all the butter is incorporated. Add in the whole milk and whisk them together.
Gently add in the dry flour mix and fold in gently using a spatula.
Pour over the cake batter on the sliced apples.
Bake in oven for roughly 40 mins. Test at 30 if done. The crust will be deep golden. Try not to place the tray very close to heating elements, as the apples at the bottom may burn. I did this, and this was a lessons learnt.
Cool in the tray on a wire rack till completely cool. Remove from the tray and the parchment paper. Serve with whip cream, or simply have a slice with tea or coffee.
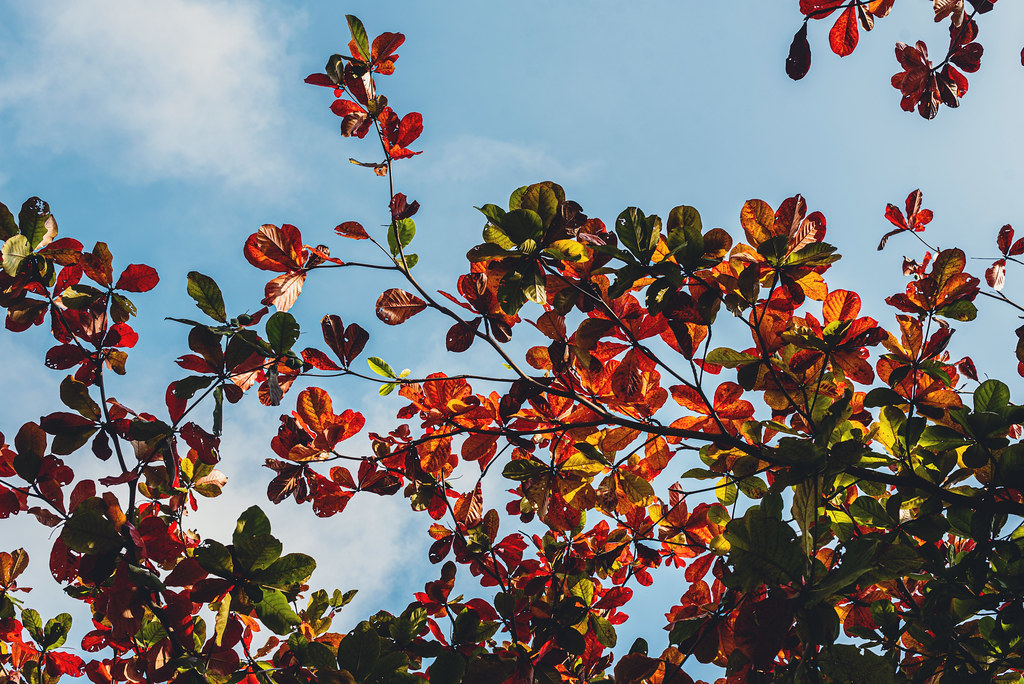
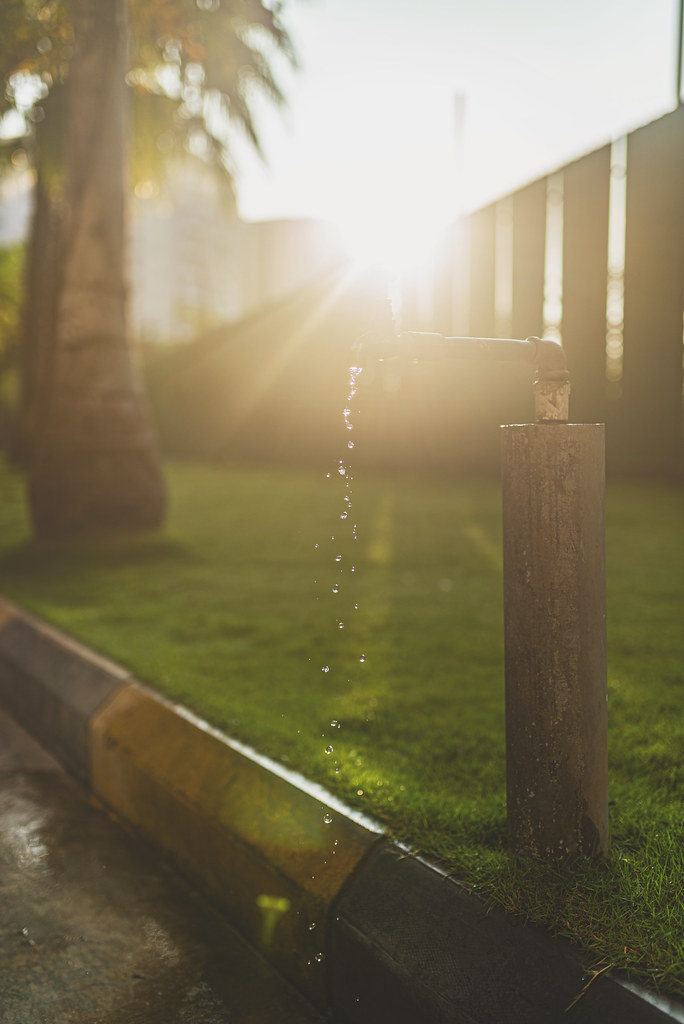
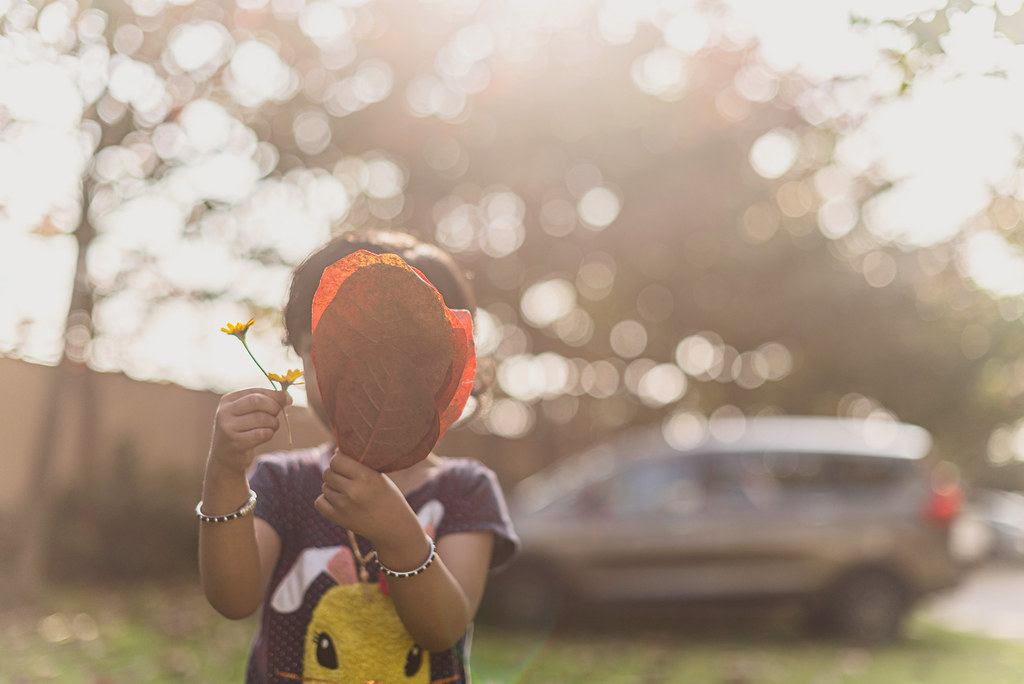
Here’s a post with pics from my walk in the morning with my brother and daughter during September 1st week. Autumn’s here and the trees are loaded with red leaves. My favourite season to click. More good pics ahead as we move to more sunnier weather in coming months. Cloudy skies are almost over now.
If you have been reading my last few posts you are aware of my obsession lately with creating that perfect surface.
See a post on doing a painted backdrop for food photography.
This post is however dedicated to how I created and sourced this wooden backdrop.
I have been looking for perfect wooden surface for years. Though I won’t say this is all perfect but it is for now.
I got tired of searching good wooden planks online and literally there was nothing available in India. I bought one from a specialized user who creates backdrop especially for photography from Instagram but it was too expensive, really not to my liking and too small, 2*2 feet. I even painted over what I had originally received.
So the only way left to get a good surface was to go to a local timber shop. There are several atleast 3-4 I have seen in close proximity to my house. Some of them exclusively specialize in plywood which is used commonly for interiors, but there are some which also specialize in wood, so I could locate one, mainly because I had got a smaller piece, this one below couple of years back from them as well.
I was looking exclusively for a very rustic set of planks which I could stain/paint later. So I went to a local shop to get some wooden planks. The shops will be typically like this with loads of wooden planks. They are more cheaper than buying anything online, and you can customize your own size and later your own paint or stain for this.
Image Courtsey – Jdmagicbox
This shop specialized into teak wood and a cheaper wood which looks very similar to Teak wood but cheaper than teak. I think he was referring to it as Australian teak. I selected 3 pieces and ordered to cut and size to about 2 * 3 feet. Usually they estimate the pieces to come down to 5 inches each but each was roughly 6 inches so finally my big plank when glued together was roughly 2.5*3.5 feet, which is more than enough for shooting a wide spread of food. Only downside was it was heavier than I expected.
For all this i paid roughly Rs. 2000 (28$) and he threw in a couple of small teak planks as well, which are ideal as a chopping board prop in food photography. I gave some specifications, to hammer the pieces together with nails and a thin plank on one side and instructed them not to saw or even out the wood for that rustic look. And after just few hours, he had put the wooden pieces and nailed these planks together. Again this was quite heavy for me to even put in the car, so try to opt for a smaller size or go for a light wood like mango, which is much lighter.
When I got home this is the first look – bare wood on both sides.
Side 1- This side has not been evened out or sawed at all. So you can see the rough texture at this side.
Side 2 – This is how it looks on the other side, if you notice there appears to be more plank pieces on this side. This was because they used a saw machine which cut the pieces unevenly and left a middle line in the plank. I thought of smoothing it out, but then left it as it is and it infact added more character to this side.
Side 1: The rustic side
After taking some time and thinking how I would stain and paint it I started with a dry brush method of white paint and some teak wood stain. This actually looked horrible and after doing some test shots, it was just not as I had imagined.
I gave it a couple of days before diving in with layers of stain and painting it over again over weekend.
So I added some brown stain on this side, to give it a more rustic look, I kind of liked this and unlike me I left it as it and didn’t retouch this side at all.
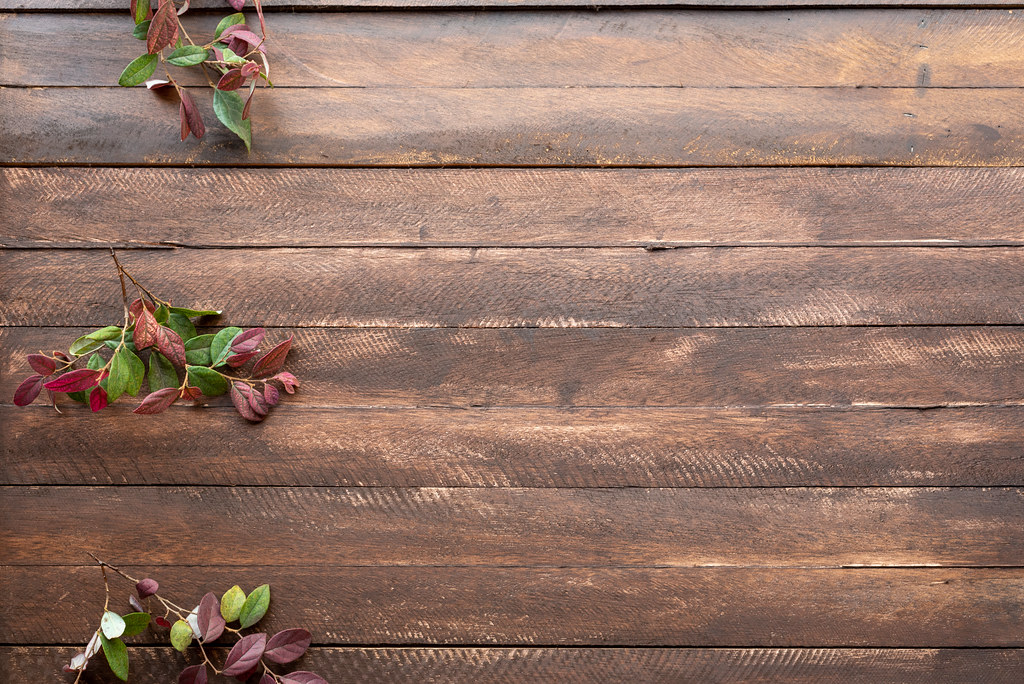
After letting it dry for sometime, I sanded the surface roughly focusing more on the intersections between planks to give it a more weathered look. This is how it finally looked like in the end.
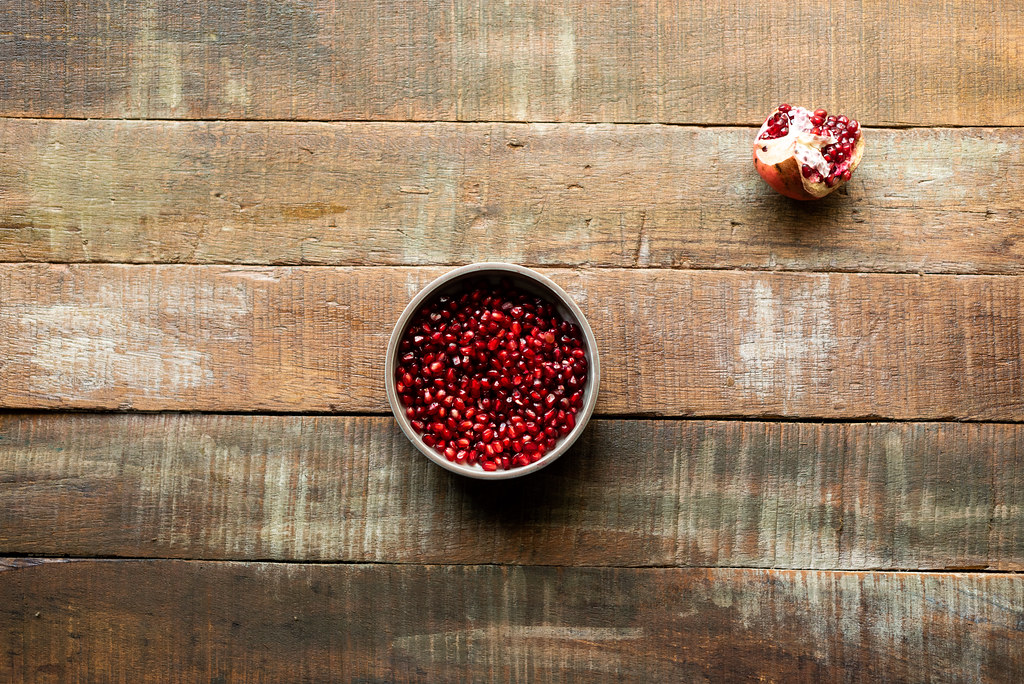
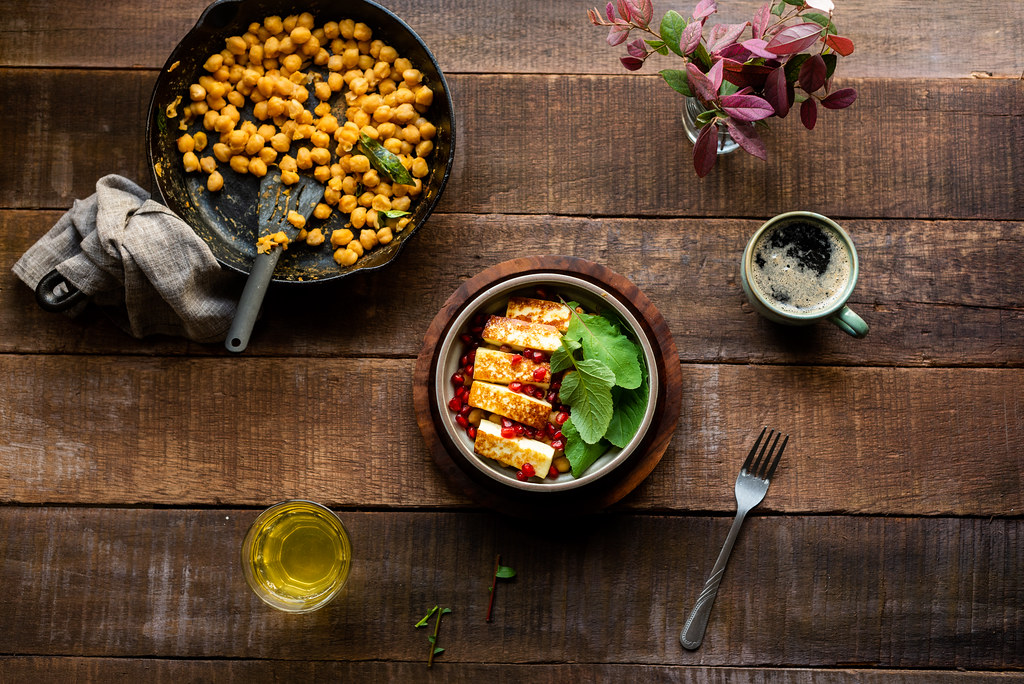
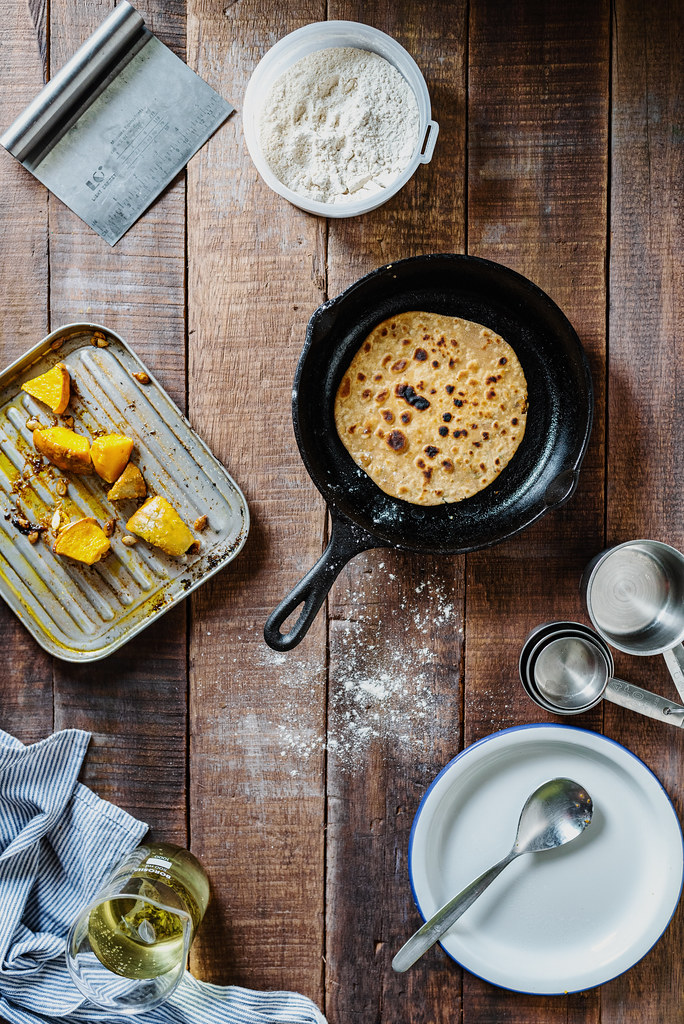
And here’s some photo shots on this side of the surface.
As you can see from my experiment that it is really easy to create a authentic wooden rustic board for food or still life photography. You just need to go and bug your local timber shop owner, which you can find anywhere in India. Most localities will have several of these kinds of shops. My recommendation would be to go for the size which would be most useful. I think a 2*3 feet should be ideal. Also if weight is not a problem then nothing beats a timber or similar in terms of texture look and something which will last and age more gracefully over years. If you get bored, you can always repaint or retain or convert it in a tabletop. Timber tabletop lasts for ever and waterproof. If weight is really an issue then a lighter Mangowood would be a better option.
So creating your own surface which works for you and you can customize is much easier. You don’t have to rely on fake vinyl food backdrops or expensive novelty shops which rob you in name of fulfilling your food props need. Hope this post motivates you to search that local shop and try to customize some wooden backdrop on your own.
Here’s some more pics I did later on this surface.